


https://www.youtube.com/watch?v=B1QHVHFGRDS



/* ========================== Pin Definitions ========================== */
// Ultrasonic Sensor Pins
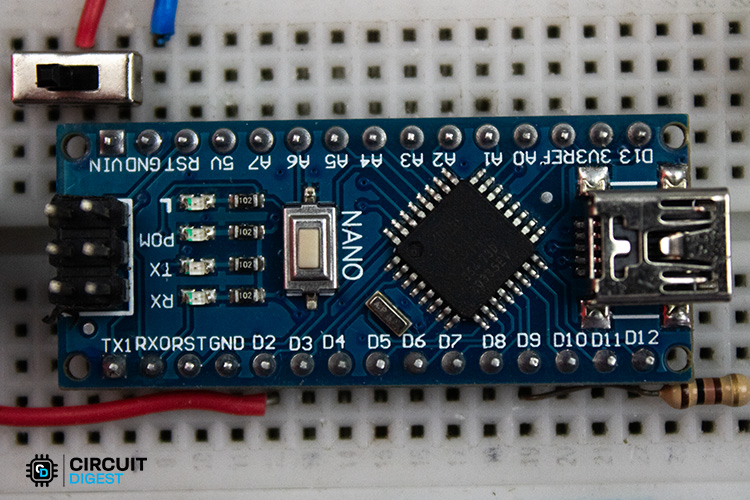
#define vccPin 4       // Ultrasonic sensor VCC pin
#define trigPin 5      // Ultrasonic sensor Trigger pin
#define echoPin 6      // Ultrasonic sensor Echo pin
#define gndPin 7       // Ultrasonic sensor GND pin
// Output Signal Pins
#define ledPin 9       // LED signal pin
#define buzzerPin 2  // Buzzer signal pin
/* ========================== Ultrasonic Sensor Data ========================== */
long duration = 0; // Duration of ultrasonic signal bounce-back (in microseconds)
int distance = 0; // Calculated distance between the object and sensor (in cm)/* ========================== Timing Variables ========================== */
// Stores the last time LED and Buzzer states were updated
unsigned long previousLedMillis = 0;
unsigned long previousBuzzerMillis = 0;/* ========================== Multitasking Interval Variables ========================== */
// Determines the interval between LED blinks and buzzer beeps (in milliseconds)
int ledInterval = 0; // LED blink interval — varies based on object distance
int buzzerInterval = 0; // Buzzer beep interval — varies based on object distance/* ========================== State Variables ========================== */
// Tracks the current state of LED and Buzzer
bool ledState = LOW; // LED state (ON or OFF)
bool buzzerState = LOW; // Buzzer state (ON or OFF)/* ========================== Current Time Variable ========================== */
// Holds the current time in milliseconds
unsigned long currentMillis = 0;/* ========================== Measure Distance ========================== */
/**
* Triggers the ultrasonic sensor and calculates the distance to the nearest object.
*/
void measureDistance() {
// Send a 10µs pulse to the trigger pin to start the measurement
digitalWrite(trigPin, LOW);
delayMicroseconds(2);
digitalWrite(trigPin, HIGH);
delayMicroseconds(10);
digitalWrite(trigPin, LOW);
// Measure the duration of the pulse on the echo pin
duration = pulseIn(echoPin, HIGH);
// Calculate the distance in centimeters (speed of sound: 343 m/s)
distance = (duration / 2) / 29.1;
// Output the distance measurement to the Serial Monitor
Serial.print("Distance: ");
Serial.print(distance);
Serial.println(" cm");
}/* ========================== Task: Trigger Buzzer ========================== */
/**
* Controls the buzzer beep rate based on object proximity.
* Buzzer beeps faster when the object is closer.
*/
void task_triggerBuzzer() {
// Map the distance to a buzzer interval (30ms when close, 100ms when far)
buzzerInterval = map(distance, 0, 50, 30, 100);
// Toggle the buzzer state when the interval has passed
if (currentMillis - previousBuzzerMillis >= buzzerInterval) {
previousBuzzerMillis = currentMillis; // Update the last buzzer time
buzzerState = !buzzerState; // Toggle the buzzer state
digitalWrite(buzzerPin, buzzerState); // Apply the new state to the pin
}
}/* ========================== Task: Trigger LED ========================== */
/**
* Controls the LED blink rate based on object proximity.
* LED blinks faster when the object is closer.
*/
void task_triggerLed() {
// Map the distance to an LED interval (150ms when close, 1000ms when far)
ledInterval = map(distance, 0, 50, 150, 1000);
// Toggle the LED state when the interval has passed
if (currentMillis - previousLedMillis >= ledInterval) {
previousLedMillis = currentMillis; // Update the last LED time
ledState = !ledState; // Toggle the LED state
digitalWrite(ledPin, ledState); // Apply the new state to the pin
}
}/* ========================== Stop Alerts ========================== */
/**
* Deactivates the LED and buzzer when no object is within range.
*/
void stopAlerts() {
digitalWrite(buzzerPin, LOW); // Turn off the buzzer
digitalWrite(ledPin, LOW); // Turn off the LED
ledState = LOW; // Reset LED state
buzzerState = LOW; // Reset buzzer state
}/* ========================== Setup Function ========================== */
/**
* Initializes hardware components, configures I/O pins, and stabilizes the sensor.
*/
void setup() {
// Configure Ultrasonic Sensor Pins
pinMode(vccPin, OUTPUT);
pinMode(trigPin, OUTPUT);
pinMode(echoPin, INPUT);
pinMode(gndPin, OUTPUT);
// Configure Output Signal Pins
pinMode(ledPin, OUTPUT);
pinMode(buzzerPin, OUTPUT);
// Power up the Ultrasonic Sensor
digitalWrite(vccPin, HIGH); // Provide 5V power
digitalWrite(gndPin, LOW); // Connect GND to 0V
// Ensure all signals are in their default LOW state
digitalWrite(ledPin, LOW);
digitalWrite(buzzerPin, LOW);
digitalWrite(trigPin, LOW);
// Initialize Serial Monitor for debugging
Serial.begin(9600);
// Stabilize the ultrasonic sensor after powering up
delay(1000);
}/* ========================== Main Loop ========================== */
/**
* Continuously checks distance and triggers LED and buzzer alerts based on proximity.
*/
void loop() {
// Capture the current time in milliseconds
currentMillis = millis();
// Measure the distance from the ultrasonic sensor
measureDistance();
// Activate LED and buzzer alerts if object is within 30cm range
if (distance >= 0 && distance <= 50) {
task_triggerBuzzer();
task_triggerLed();
} else {
// Stop alerts if the object is out of range
stopAlerts();
}
} 


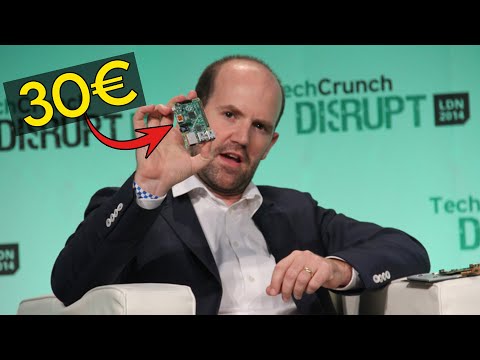
Retrouvez l’histoire de Raspberry Pi dans cette vidéo :
-
 SunFounder Kit de capteur Universel Compatible avec Arduino Mega/R3/R4 Minima/WiFi Nano, Raspberry Pi 5/4B/3B+/Zero 2 W/, Pico W, ESP32, C++, Python, MicroPython, débutants et ingénieurs
 -
 PintoHardware 3 x IR Module Capteur Distance D'obstacles Infrarouge, plaque de circuit électronique pour projets Compatible Arduino