

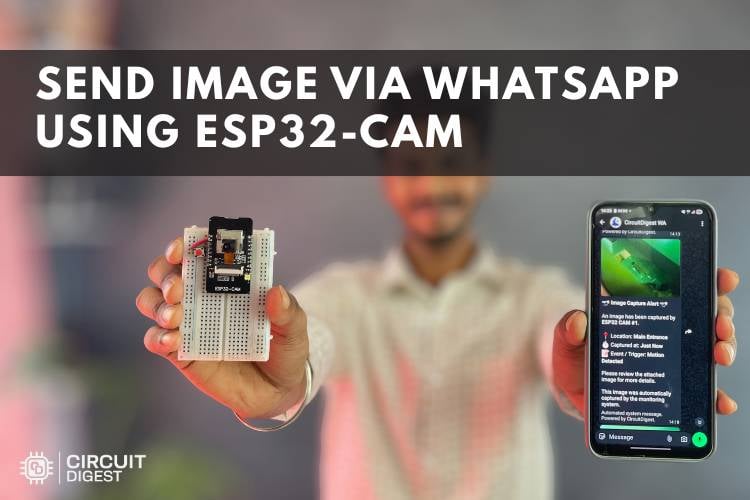
Comment l’ESP32-CAM envoie un message WhatsApp avec une image :
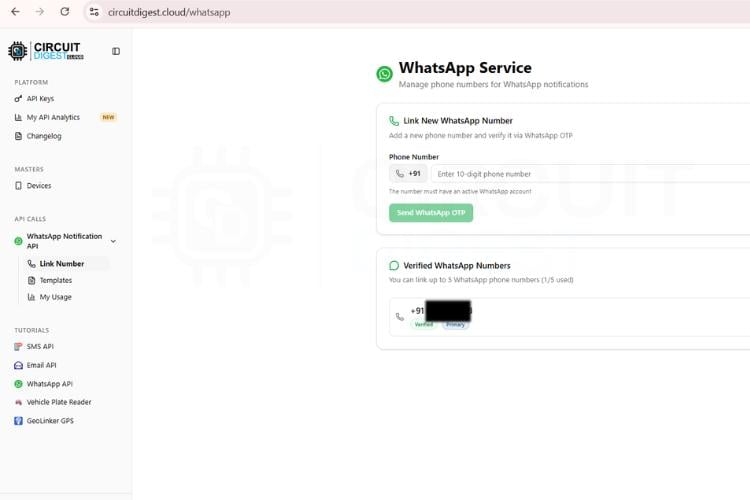
- Inscrivez-vous sur Circuit Digest Cloud et récupérez votre clé API.
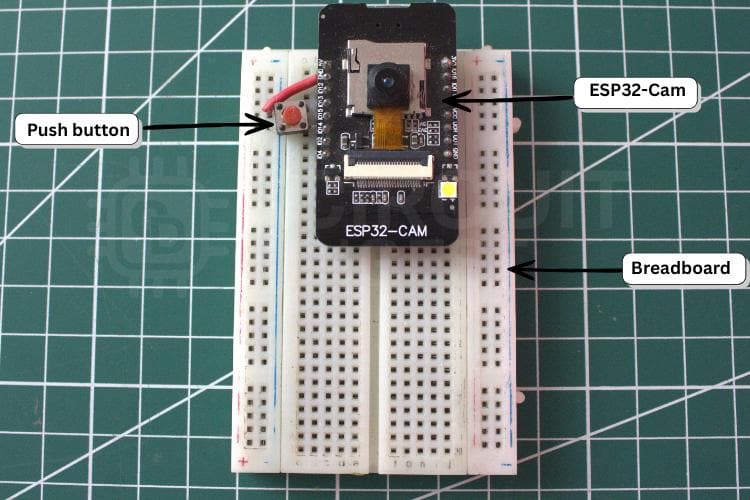
- Câblez un bouton poussoir pour GPIO13 sur l’ESP32-CAM.
- Flashez le croquis Arduino avec vos informations d’identification WiFi, votre clé API et votre numéro de téléphone.
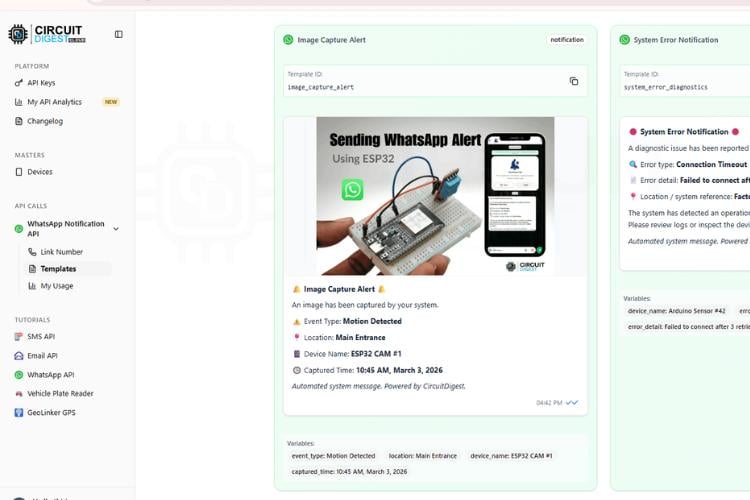
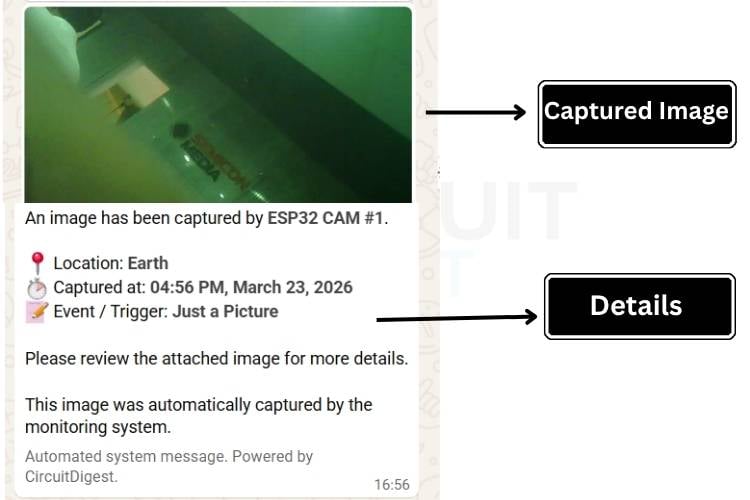
- Appuyez sur le bouton : le module capture un fichier JPEG avec flash et le transmet à WhatsApp en quelques secondes.
| S.NON | Composants | But |
| 1. | Caméra ESP-32 | Agir en tant que contrôleur principal et cela nous permet également de capturer des images. |
| 2. | Bouton poussoir | Utilisé pour donner l’entrée en appuyant sur. |
| 3. | Planche à pain | Utilisé pour faire la connexion facilement |
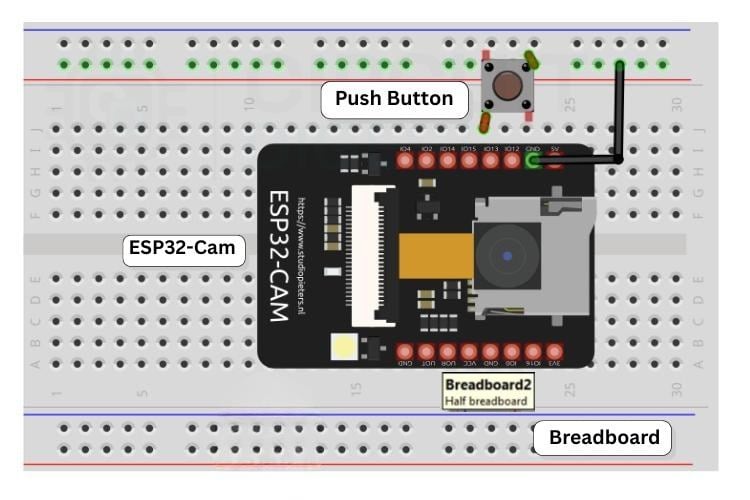
| Broche/nœud | Connecté à | Fonction |
| GPIO13 | Borne à bouton-poussoir 1 | Déclencheur de capture (INPUT_PULLUP — lit LOW à la pression) |
| GND | Borne à bouton-poussoir 2 | Référence commune |
| GPIO4 | LED flash intégrée | Éclairage pendant la capture JPEG (rafale de 150 ms) |
| 5 V / GND | Rails d’alimentation | Entrée 5 V stable — un adaptateur dédié est recommandé via PC USB |
#include "esp_camera.h"
#include
#include
#include
const char *ssid = "YOURSSID", *pwd = "YOURPASSWORD";
const char *apiKey = "YOURAPIKEY", *phone = "YOURNUMBER";
void initCam() {
camera_config_t cfg;
cfg.ledc_channel = LEDC_CHANNEL_0;
cfg.ledc_timer = LEDC_TIMER_0;
cfg.pin_d0=5; cfg.pin_d1=18; cfg.pin_d2=19; cfg.pin_d3=21;
cfg.pin_d4=36; cfg.pin_d5=39; cfg.pin_d6=34; cfg.pin_d7=35;
cfg.pin_xclk=0; cfg.pin_pclk=22; cfg.pin_vsync=25;
cfg.pin_href=23; cfg.pin_sscb_sda=26; cfg.pin_sscb_scl=27;
cfg.pin_pwdn=32; cfg.pin_reset=-1;
cfg.xclk_freq_hz = 20000000;
cfg.pixel_format = PIXFORMAT_JPEG;
cfg.frame_size = psramFound() ? FRAMESIZE_VGA : FRAMESIZE_QVGA;
cfg.jpeg_quality = psramFound() ? 10 : 12;
cfg.fb_count = psramFound() ? 2 : 1;
if (esp_camera_init(&cfg) != ESP_OK) ESP.restart();
}uint8_t *imgBuf = (uint8_t*)malloc(fb->len);
if (!imgBuf) {
esp_camera_fb_return(fb);
fb = nullptr;
return;
}
size_t len = fb->len;
memcpy(imgBuf, fb->buf, len);
esp_camera_fb_return(fb);
fb = nullptr;
esp_camera_deinit();String body = "--boundary\r\n"
"Content-Disposition: form-data; name=\"phone_number\"\r\n\r\n" + String(phone) + "\r\n"
"--boundary\r\n"
"Content-Disposition: form-data; name=\"template_id\"\r\n\r\nimage_capture_alert\r\n"
"--boundary\r\n"
"Content-Disposition: form-data; name=\"image\"; filename=\"p.jpg\"\r\n"
"Content-Type: image/jpeg\r\n\r\n";
client.println("POST /api/v1/whatsapp/send-with-image HTTP/1.1");
client.println("Host: www.raspberryme.cloud");
client.println("Authorization: " + String(apiKey));
client.println("Content-Type: multipart/form-data; boundary=boundary");
client.print(body);
client.write(imgBuf, len);bool cur = digitalRead(13);
if (lastBtn == HIGH && cur == LOW) {
delay(50);
if (digitalRead(13) == LOW) {
camera_fb_t *s = esp_camera_fb_get();
if (s) esp_camera_fb_return(s);
digitalWrite(4, HIGH);
delay(150);
fb = esp_camera_fb_get();
digitalWrite(4, LOW);
sendWa();
}
}
lastBtn = cur;
delay(10);Référentiel GitHub du système WhatsApp ESP32-Cam
Voici le référentiel GitHub où vous pouvez accéder au code source complet, aux schémas de circuits détaillés et à toutes les ressources nécessaires pour comprendre, construire et personnaliser le projet étape par étape.
Projets IoT basés sur ESP32-CAM
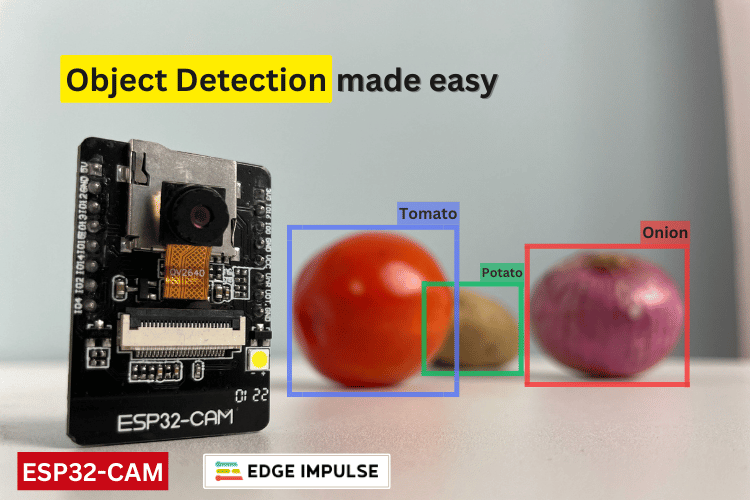
Détection d’objets à l’aide d’ESP32-CAM et Edge Impulse
Apprenez à créer un projet de reconnaissance d’images à l’aide d’ESP32-CAM et Edge Impulse. Comprenons en détail la détection et l’identification d’objets en construisant notre système à l’aide du module CAM ESP32 avec code et schéma de circuit.
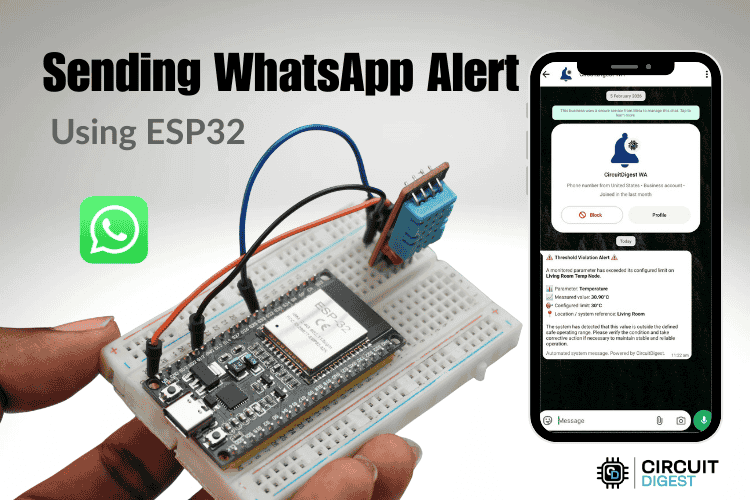
Comment envoyer des messages WhatsApp depuis ESP32
Envoyez des alertes WhatsApp en temps réel depuis ESP32 en utilisant le WiFi et CircuitDigest Cloud. Déclenchez des notifications à partir de capteurs sans modules GSM, cartes SIM ou matériel complexe à l’aide de l’API gratuite de CircuitDigest Cloud
Code de projet complet
Copier le code
#include "esp_camera.h"
#include
#include
#include
const char *ssid = "Yourssid", *pwd = "yourpassword";
const char *apiKey = "yourapikey", *phone = "yournumber";
camera_fb_t *fb = nullptr;
bool lastBtn = HIGH;
void initCam() {
 camera_config_t cfg; cfg.ledc_channel=LEDC_CHANNEL_0; cfg.ledc_timer=LEDC_TIMER_0;
 cfg.pin_d0=5; cfg.pin_d1=18; cfg.pin_d2=19; cfg.pin_d3=21; cfg.pin_d4=36; cfg.pin_d5=39;
 cfg.pin_d6=34; cfg.pin_d7=35; cfg.pin_xclk=0; cfg.pin_pclk=22; cfg.pin_vsync=25;
 cfg.pin_href=23; cfg.pin_sscb_sda=26; cfg.pin_sscb_scl=27; cfg.pin_pwdn=32; cfg.pin_reset=-1;
 cfg.xclk_freq_hz=20000000; cfg.pixel_format=PIXFORMAT_JPEG;
 cfg.frame_size=psramFound()?FRAMESIZE_VGA:FRAMESIZE_QVGA;
 cfg.jpeg_quality=psramFound()?10:12; cfg.fb_count=psramFound()?2:1;
 if(esp_camera_init(&cfg) != ESP_OK) ESP.restart();
}
void sendWa() {
 if(!fb) return;
 if(WiFi.status() != WL_CONNECTED) WiFi.reconnect();
 while(WiFi.status() != WL_CONNECTED) delay(100);

 uint8_t *imgBuf = (uint8_t*)malloc(fb->len);
 if(!imgBuf) { esp_camera_fb_return(fb); fb=nullptr; return; }
 size_t len = fb->len; memcpy(imgBuf, fb->buf, len);
 esp_camera_fb_return(fb); fb = nullptr;
 esp_camera_deinit(); delay(100);
 WiFiClientSecure client; client.setInsecure();
 if(!client.connect("www.raspberryme.cloud", 443)) { free(imgBuf); initCam(); return; }
 struct tm ti; char ts[64] = "Time Unknown";
 if(getLocalTime(&ti, 1000)) strftime(ts, 64, "%I:%M %p, %B %d, %Y", &ti);
 String b = "ESP32CAMBound7MA4YWxkTrZu0gW", cr = "\r\n", d = "--";
 String body = d+b+cr+"Content-Disposition: form-data; name=\"phone_number\""+cr+cr+phone+cr+
   d+b+cr+"Content-Disposition: form-data; name=\"template_id\""+cr+cr+"image_capture_alert"+cr+
   d+b+cr+"Content-Disposition: form-data; name=\"variables\""+cr+cr+"{\"event_type\":\"Just a Picture\",\"location\":\"office\",\"device_name\":\"ESP32 CAM #1\",\"captured_time\":\""+String(ts)+"\"}"+cr+
   d+b+cr+"Content-Disposition: form-data; name=\"image\"; filename=\"p.jpg\""+cr+"Content-Type: image/jpeg"+cr+cr;
 String end = cr+d+b+d+cr;
 client.println("POST /api/v1/whatsapp/send-with-image HTTP/1.1");
 client.println("Host: www.raspberryme.cloud\r\nAuthorization: " + String(apiKey));
 client.println("Content-Type: multipart/form-data; boundary=" + b);
 client.println("Content-Length: " + String(body.length() + len + end.length()) + "\r\n");

 client.print(body); client.write(imgBuf, len); client.print(end); free(imgBuf);
 while(client.connected()) if(client.readStringUntil('\n') == "\r") break;
 client.stop(); initCam();
}
void setup() {
 Serial.begin(115200); pinMode(4, OUTPUT); pinMode(13, INPUT_PULLUP);
 initCam();
 WiFi.begin(ssid, pwd);
 while(WiFi.status() != WL_CONNECTED) delay(100);
 configTime(19800, 0, "pool.ntp.org");
 Serial.println("Ready!");
}
void loop() {
 bool cur = digitalRead(13);
 if(lastBtn == HIGH && cur == LOW) {
   delay(50);
   if(digitalRead(13) == LOW) {
     camera_fb_t *s = esp_camera_fb_get(); if(s) esp_camera_fb_return(s);
     digitalWrite(4, HIGH); delay(150); fb = esp_camera_fb_get(); digitalWrite(4, LOW);
     Serial.println("Captured!"); sendWa(); cur = digitalRead(13);
   }
 }
 lastBtn = cur; delay(10);
}
Retrouvez l’histoire de Raspberry Pi dans cette vidéo :

-
 Heemol Pour cartes de développement ESP32-S3-CAM avec caméra OV5640, antenne 2,4 G + antenne IPEX, pour module ESP32-S3-N16R8 240 MHz, processeur double cœur, puce CH340 avec Wi-Fi, Bluetooth pour IoT
 -
 2 Pièces ESP32 CAM OV5640 Module Caméra 5MP Grand Angle 120° Autofocus | Interface DVP 2592x1944 Capteur Image Vision Embarquée Compatible STM32 ESP32 FPGA