




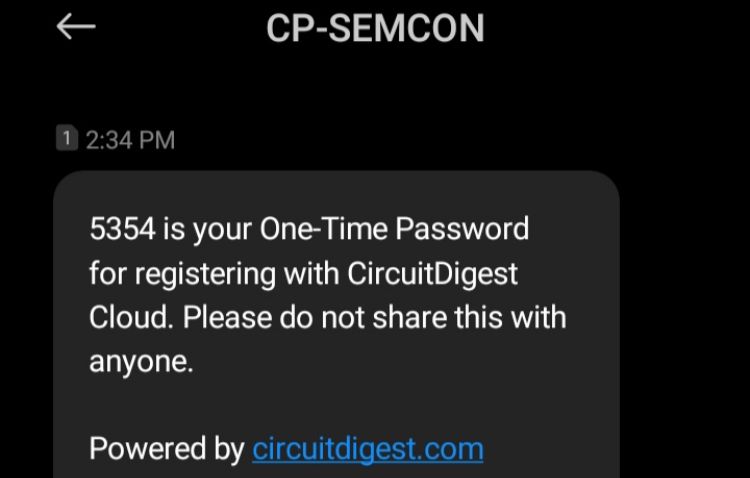
| Il est temps de servir votre médecin aqua. Le dernier service était le 01/01/2024. – Propulsé par CircuitDigest pour les ingénieurs et les fabricants de l’Inde. Visitez www.raspberryme.com. |
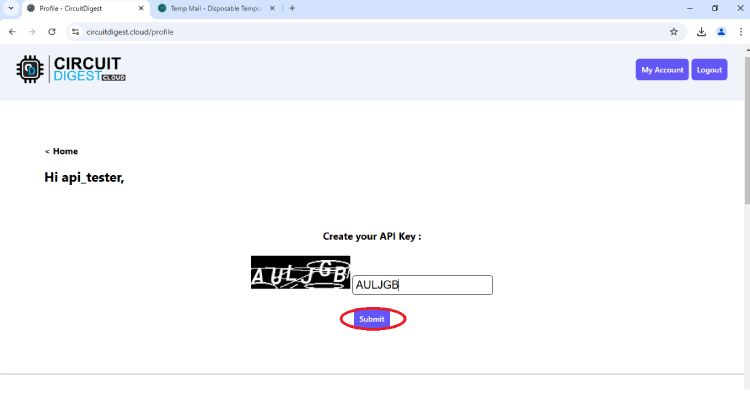
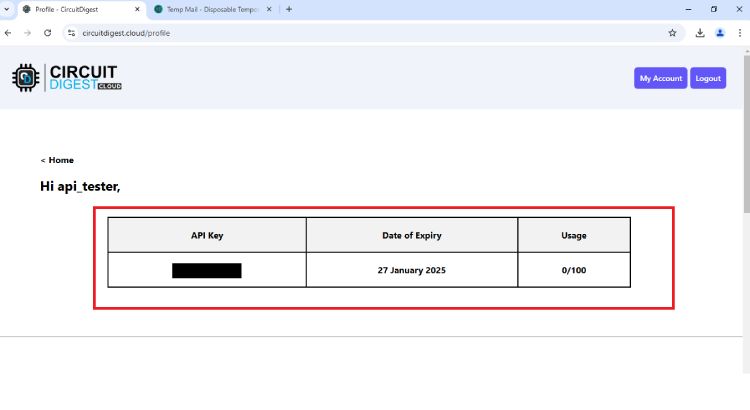
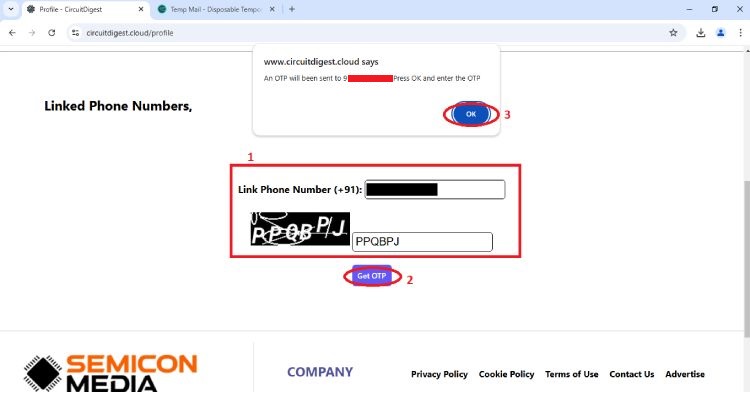
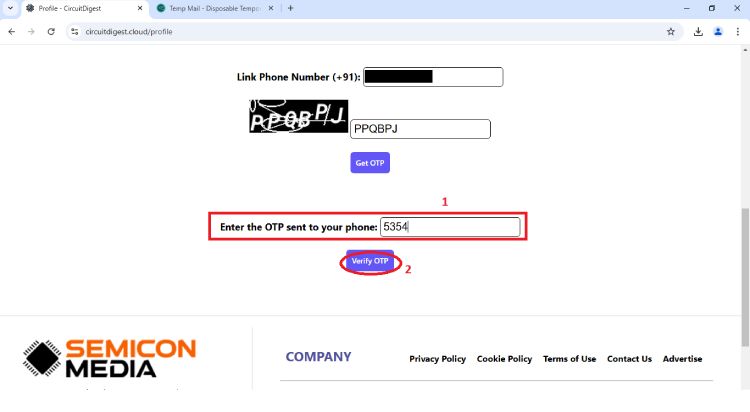
#include "WiFiS3.h"// WiFi credentials
const char *ssid = "Semicon Media"; // Your network SSID (from arduino_secrets.h)
const char *password = "cracksen1605"; // Your network password (from arduino_secrets.h)
int status = WL_IDLE_STATUS; // Connection status
// API credentials and SMS details
const char* apiKey = "XXXXXXXX"; // Replace with your API key
const char* templateID = "106"; // Replace with your template ID
const char* mobileNumber = "XXXXXXXXXXX"; // Replace with the recipient's mobile number with country code (eg : 91XXXXXXXXXX)
const char* var1 = "AQUA WATER DOCTOR"; // Replace with your custom variable
const char* var2 = "01/01/2024"; // Replace with your custom variablevoid printWifiStatus() {
// print the SSID of the network you're attached to:
Serial.print("SSID: ");
Serial.println(WiFi.SSID());
// print your board's IP address:
IPAddress ip = WiFi.localIP();
Serial.print("IP Address: ");
Serial.println(ip);
// print the received signal strength:
long rssi = WiFi.RSSI();
Serial.print("signal strength (RSSI):");
Serial.print(rssi);
Serial.println(" dBm");
}void sendSMS() {
if (WiFi.status() == WL_CONNECTED) {
WiFiClient client; // Initialize WiFi client
String apiUrl = "/send_sms?ID=" + String(templateID);
Serial.print("Connecting to server...");
if (client.connect("www.raspberryme.cloud", 80)) { // Connect to the server
Serial.println("connected!");
// Create the HTTP POST request
String payload = "{\"mobiles\":\"" + String(mobileNumber) +
"\",\"var1\":\"" + String(var1) +
"\",\"var2\":\"" + String(var2) + "\"}";
// Send HTTP request headers
client.println("POST " + apiUrl + " HTTP/1.1");
client.println("Host: www.raspberryme.cloud");
client.println("Authorization: " + String(apiKey));
client.println("Content-Type: application/json");
client.println("Content-Length: " + String(payload.length()));
client.println(); // End of headers
client.println(payload); // Send the JSON payload
// Wait for the response
int responseCode = -1; // Variable to store HTTP response code
while (client.connected() || client.available()) {
if (client.available()) {
String line = client.readStringUntil('\n'); // Read a line from the response
Serial.println(line); // Print the response line (for debugging)
// Check for the HTTP response code
if (line.startsWith("HTTP/")) {
responseCode = line.substring(9, 12).toInt(); // Extract response code (e.g., 200, 404)
Serial.print("HTTP Response Code: ");
Serial.println(responseCode);
}
// Stop reading headers once we reach an empty line
if (line == "\r") {
break;
}
}
}
// Check response
if (responseCode == 200) {
Serial.println("SMS sent successfully!");
} else {
Serial.print("Failed to send SMS. Error code: ");
Serial.println(responseCode);
}
client.stop(); // Disconnect from the server
} else {
Serial.println("Connection to server failed!");
}
} else {
Serial.println("WiFi not connected!");
}
}void setup() {
//Initialize serial and wait for port to open:
Serial.begin(9600);
while (!Serial) {
; // wait for serial port to connect. Needed for native USB port only
}
// check for the WiFi module:
if (WiFi.status() == WL_NO_MODULE) {
Serial.println("Communication with WiFi module failed!");
// don't continue
while (true);
}
String fv = WiFi.firmwareVersion();
if (fv < WIFI_FIRMWARE_LATEST_VERSION) {
Serial.println("Please upgrade the firmware");
}
// attempt to connect to WiFi network:
while (status != WL_CONNECTED) {
Serial.print("Attempting to connect to SSID: ");
Serial.println(ssid);
// Connect to WPA/WPA2 network. Change this line if using open or WEP network:
status = WiFi.begin(ssid, password);
// wait 1 seconds for connection:
delay(1000);
}
printWifiStatus();
// Send the SMS
sendSMS();
}void loop() {
// Nothing to do in the loop
} 

Projets utilisant l’API Circuit Digest

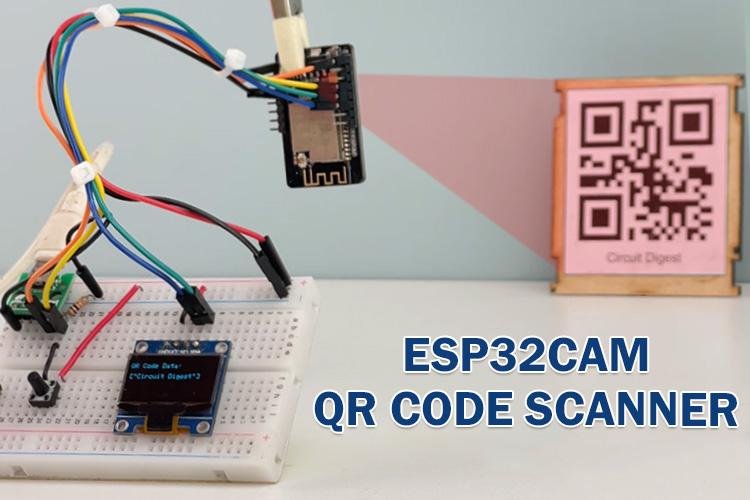
Comment scanner les codes QR à l’aide du module ESP32-CAM?
Apprenez à mettre en œuvre une API de reconnaissance de plaques à numéros pour les cartes SOC intégrées à faible puissance. Ce guide couvre l’intégration de l’API, le traitement d’image et la détection des plaques d’immatriculation en temps réel à l’aide du nuage de digestion de circuit.
Retrouvez l’histoire de Raspberry Pi dans cette vidéo :

-
 Arduino UNO R4 Minima [ABX00080] - Carte de développement avec microcontrôleur Arm Cortex-M4, idéale pour projets IoT, automatisation et Applications avec Arduino IDE. (Lot de 2)
 -
 Arduino® UNO™ Q 2GB[ABX00162] - Carte Hybride, microprocesseur Qualcomm Dragonwing QRB2210 (MPU) et microcontroleur STM32U585 (MCU), AI Vision, Voice, IoT, Robotics, Linux Debian OS, Wi-FI 5, USB-C