




//Code for Arduino bidirectional visitor counter
//by www.raspberryme.com
#include
// Initialize the LCD with I2C address 0x27
LiquidCrystal_I2C lcd(0x27, 16, 2);
const int irPin1 = 2; // IR sensor 1(Entrance Detector) connected to digital pin 2
const int irPin2 = 3; // IR sensor 2(Exit Detector) connected to digital pin 3
int in_count = 0;        // Variable to store the number of people went inside
int out_count = 0;       // Variable to store the number of people went outside
int current_count = 0;   // Variable to store the current number of people present inside
const unsigned long timeout = 50; // Object detection Timeout period in milliseconds
void setup() {
 /* Initialise LCD Display */
 lcd.init();
 lcd.backlight();
 lcd.setCursor(0, 0);
 lcd.print("IN: 0   OUT: 0");
 lcd.setCursor(0, 1);
 lcd.print("Current: 0");
 /* Pull up the input pins */
 pinMode(irPin1, INPUT_PULLUP);
 pinMode(irPin2, INPUT_PULLUP);
}
void loop() {
 /*  Check if the first sensor is triggered */
 if (digitalRead(irPin1) == LOW) {
   unsigned long startTime = millis();
   while ((millis() - startTime) < timeout) {
     if(digitalRead(irPin2) == LOW){
        ++in_count;
        updateDisplay();
        break;
     }
   }
   //wait until both sensors return to a normal state
   while(!digitalRead(irPin1) || !digitalRead(irPin2));
 }

 /* Check if the second sensor is triggered */
 else if (digitalRead(irPin2) == LOW) {
   unsigned long startTime = millis();
   while ((millis() - startTime) < timeout) {
     if(digitalRead(irPin1) == LOW){
       if(out_count < in_count){
          ++out_count;
          updateDisplay();
          break;
       }
     }
   }
   //wait until both sensors return to a normal state
   while(!digitalRead(irPin1) || !digitalRead(irPin2));
 }
}
void updateDisplay() {
 lcd.setCursor(4, 0);
 lcd.print("   ");
 lcd.setCursor(4, 0);
 lcd.print(in_count);
 lcd.setCursor(13, 0);
 lcd.print("   ");
 lcd.setCursor(13, 0);
 lcd.print(out_count);
 current_count = in_count - out_count;
 lcd.setCursor(9, 1);
 lcd.print("   ");
 lcd.setCursor(9, 1);
 lcd.print(current_count);
}
#include 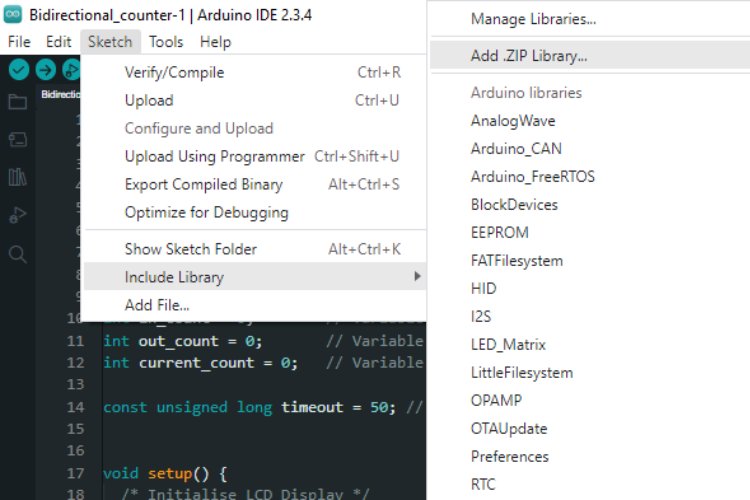
// Initialize the LCD with I2C address 0x27
LiquidCrystal_I2C lcd(0x27, 16, 2);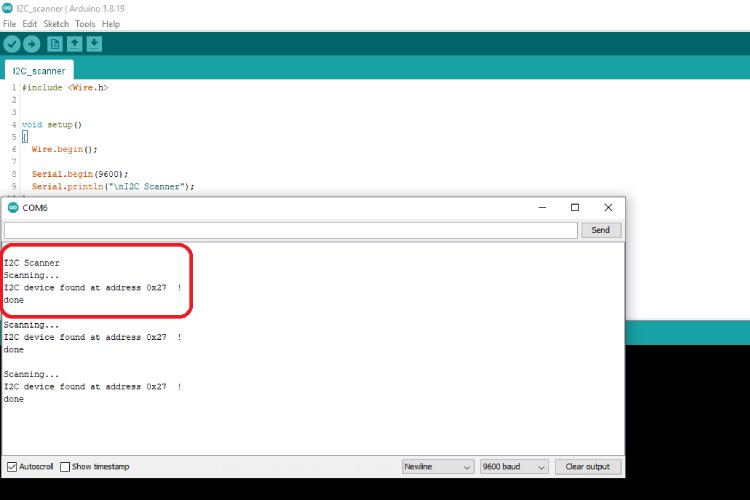
const int irPin1 = 2; // IR sensor 1(Entrance Detector) connected to digital pin 2
const int irPin2 = 3; // IR sensor 2(Exit Detector) connected to digital pin 3
int in_count = 0; // Variable to store the number of people went inside
int out_count = 0; // Variable to store the number of people went outside
int current_count = 0; // Variable to store the current number of people present insideconst unsigned long timeout = 50; // Object detection Timeout period in millisecondsvoid updateDisplay() {
lcd.setCursor(4, 0);
lcd.print(" ");
lcd.setCursor(4, 0);
lcd.print(in_count);
lcd.setCursor(13, 0);
lcd.print(" ");
lcd.setCursor(13, 0);
lcd.print(out_count);
current_count = in_count - out_count;
lcd.setCursor(9, 1);
lcd.print(" ");
lcd.setCursor(9, 1);
lcd.print(current_count);
}void setup() {
/* Initialise LCD Display */
lcd.init();
lcd.backlight();
lcd.setCursor(0, 0);
lcd.print("IN: 0 OUT: 0");
lcd.setCursor(0, 1);
lcd.print("Current: 0");
/* Pull up the input pins */
pinMode(irPin1, INPUT_PULLUP);
pinMode(irPin2, INPUT_PULLUP);
}void loop() {
/* Check if the first sensor is triggered */
if (digitalRead(irPin1) == LOW) {
unsigned long startTime = millis();
while ((millis() - startTime) < timeout) {
if(digitalRead(irPin2) == LOW){
++in_count;
updateDisplay();
break;
}
}
//wait until both sensors return to a normal state
while(!digitalRead(irPin1) || !digitalRead(irPin2));
}
/* Check if the second sensor is triggered */
else if (digitalRead(irPin2) == LOW) {
unsigned long startTime = millis();
while ((millis() - startTime) < timeout) {
if(digitalRead(irPin1) == LOW){
if(out_count < in_count){
++out_count;
updateDisplay();
break;
}
}
}
//wait until both sensors return to a normal state
while(!digitalRead(irPin1) || !digitalRead(irPin2));
}
} 

https://www.youtube.com/watch?v=khwq4_na5s4
La vidéo ci-dessus montre des instructions étape par étape sur la façon de Construisez un projet de compteur de visiteurs bidirectionnels à l’aide d’Arduino. Si vous avez des questions, n’hésitez pas à leur poser dans la section des commentaires ci-dessous ou à utiliser nos forums.
Projets similaires
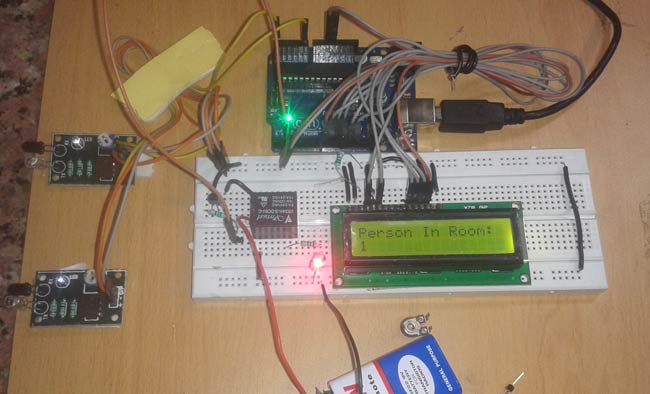
Contrôleur d’éclairage automatique avec compteur de visiteurs bidirectionnels
Ce projet emploie un Arduino Uno avec des capteurs IR pour compter le nombre de personnes entrant ou sortant d’une pièce. Il contrôle automatiquement l’éclairage de la pièce en fonction de l’occupation, garantissant que les lumières sont activées lorsque quelqu’un entre et éteint lorsque la pièce est vacante.

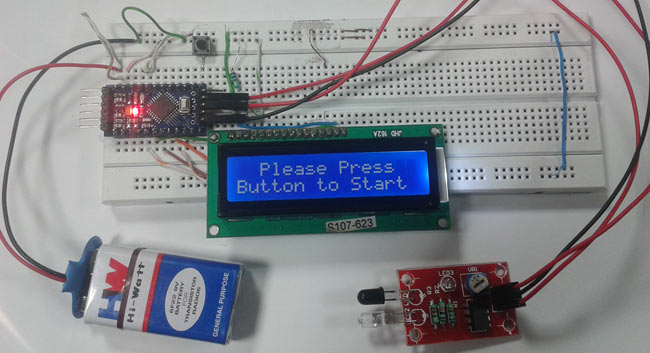
Tachymètre de bricolage utilisant un capteur Arduino et IR
Montre comment construire un tachymètre numérique à l’aide d’un module Arduino et un capteur IR. Il mesure les rotations par minute (tr / min) d’un objet rotatif en détectant les interruptions dans le faisceau IR, fournissant des lectures de vitesse précises.
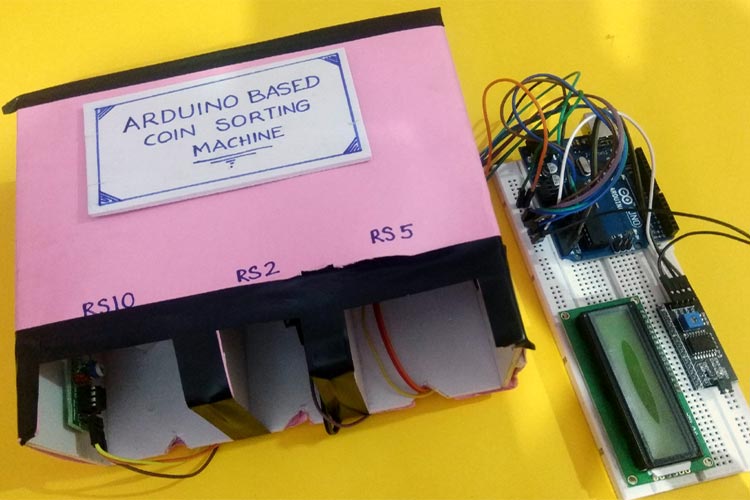
Machine de tri des pièces à l’aide d’Arduino
Apprenez à construire une machine de tri et de comptage de pièces construite avec Arduino. Il utilise des capteurs IR pour détecter et compter les pièces de monnaie de différentes dénominations lorsqu’ils traversent les chemins désignés, affichant le nombre sur un LCD.
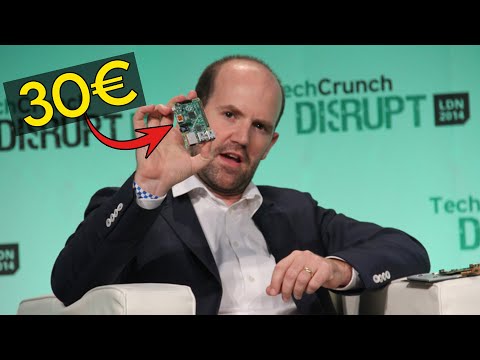
Retrouvez l’histoire de Raspberry Pi dans cette vidéo :
-
 SmartCoounter Compteur de Passage Automatique avec Données - Compteur de Personnes, Statistiques par Heure et Jour, Capteur Infrarouge sans Fil, Compteur de Visiteurs, MicroSD, Blanc
 -
 Affichage numérique de comptage, totalisateur automatique LED à 6 chiffres | Compteur numérique électronique avec écran LED à 6 chiffres pour le suivi de production, les visiteurs et les opérations de